Report Widgets
A widget specifically made for use in the dashboard.
Report widgets can be used on the backend dashboard and in other backend report containers. Report widgets must be registered in the plugin registration file.
The report widget classes reside inside the reportwidgets directory of a plugin. As any other plugin class, generic widget controllers should belong to the plugin namespace. Similarly to all backend widgets, report widgets use partials and a special directory layout. Example directory layout:
├── reportwidgets
|   ├── trafficsources
|   |   └── partials
|   |       └── _widget.php  ← Partial File
|   └── TrafficSources.php  ← Widget Class
# Class Definition
The create:reportwidget command generates a backend report widget, view and basic asset files. The first argument specifies the author and plugin name. The second argument specifies the report widget class name.
php artisan create:reportwidget Acme.Blog TopPosts
The report widget classes must extend the Backend\Classes\ReportWidgetBase class. Example report widget class definition. The class should override the render method in order to render the widget itself.
namespace RainLab\GoogleAnalytics\ReportWidgets;

use Backend\Classes\ReportWidgetBase;

class TrafficSources extends ReportWidgetBase
{
    public function render()
    {
        return $this->makePartial('widget');
    }
}
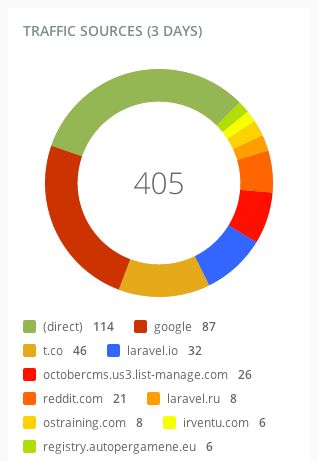
The widget partial could contain any HTML markup you want to display in the widget. The markup should be wrapped into the DIV element with the report-widget class. Using H3 element to output the widget header is preferable. Example widget partial:
<div class="report-widget">
    <h3>Traffic sources</h3>

    <div
        class="control-chart"
        data-control="chart-pie"
        data-size="200"
        data-center-text="180">
        <ul>
            <li>Direct <span>1000</span></li>
            <li>Social networks <span>800</span></li>
        </ul>
    </div>
</div>
Inside report widgets you can use any charts or indicators (opens new window), lists or any other markup you wish. Remember that the report widgets extend the generic backend widgets and you can use any widget functionality in your report widgets. The next example shows a list report widget markup.
<div class="report-widget">
    <h3>Top pages</h3>

    <div class="table-container">
        <table class="table data" data-provides="rowlink">
            <thead>
                <tr>
                    <th><span>Page URL</span></th>
                    <th><span>Pageviews</span></th>
                    <th><span>% Pageviews</span></th>
                </tr>
            </thead>
            <tbody>
                <tr>
                    <td>/</td>
                    <td>90</td>
                    <td>
                        <div class="progress">
                            <div class="bar" style="90%"></div>
                            <a href="/">90%</a>
                        </div>
                    </td>
                </tr>
                <tr>
                    <td>/docs</td>
                    <td>10</td>
                    <td>
                        <div class="progress">
                            <div class="bar" style="10%"></div>
                            <a href="/docs">10%</a>
                        </div>
                    </td>
                </tr>
            </tbody>
        </table>
    </div>
</div>
# Report Widget Properties
Report widgets may have properties that users can manage with the Inspector:
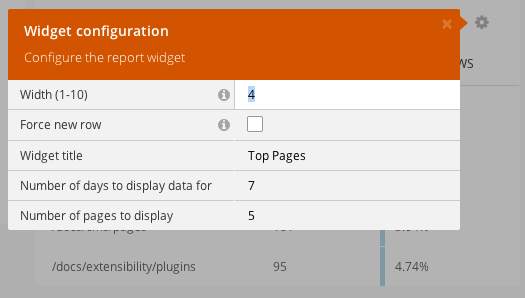
The properties should be defined in the defineProperties method of the widget class. The properties are described in the inspector types.
public function defineProperties()
{
    return [
        'title' => [
            'title' => 'Widget title',
            'default' => 'Top Pages',
            'type' => 'string',
            'validation' => [
                'required' => [
                    'message' => 'The Widget Title is required.'
                ],
            ]
        ],
        'days' => [
            'title' => 'Number of days to display data for',
            'default' => '7',
            'type' => 'string',
            'validation' => [
                'regex' => [
                    'message' => 'The days property can contain only numeric symbols.',
                    'pattern' => '^[0-9]+$'
                ]
            ]
        ]
    ];
}
# Report Widget Registration
Plugins can register report widgets by overriding the registerReportWidgets method inside the plugin registration file. The method should return an array containing the widget classes in the keys and widget configuration (label, context, and required permissions) in the values.
public function registerReportWidgets()
{
    return [
        \RainLab\GoogleAnalytics\ReportWidgets\TrafficOverview::class => [
            'label' => 'Google Analytics traffic overview',
            'context' => 'dashboard',
            'permissions' => [
                'rainlab.googleanalytics.widgets.traffic_overview',
            ],
        ],
        \RainLab\GoogleAnalytics\ReportWidgets\TrafficSources::class => [
            'label' => 'Google Analytics traffic sources',
            'context' => 'dashboard',
            'permissions' => [
                'rainlab.googleanaltyics.widgets.traffic_sources',
            ],
        ]
    ];
}
The label element defines the widget name for the Add Widget popup window. The context element defines the context where the widget could be used. October's report widget system allows to host the report container on any page, and the container context name is unique. The widget container on the Dashboard page uses the dashboard context.